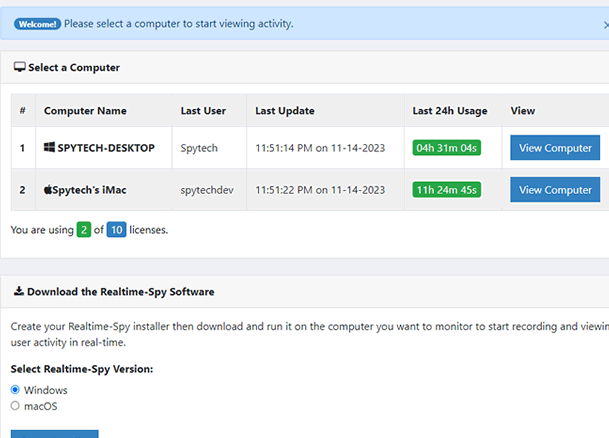
| I get this question asked daily "How to hack a computer remotely" OR "How to install a keylogger in a remote machine".As we know that in order to install a keylogger we must have physical access to victims computer.There are lots of methods to gain physical access such as Netbios hacking ,Trojans, Rats etc.However these methods require alot of skill and its very difficuly for newbies to do it.Alternatively we use a keylogger(Remote installation supported).All we have to do is to make sure that the remote file gets installed into victims computer and your done.Below we will go through the necessary steps required to hack a computer remotely and install a keylogger.I will be using Realtime spy. Step 1 First of all download Realtime spy.After downloading your copy of Realtime-Spy navigate to where you downloaded (in this case it is on the Windows desktop). Double click the Realtime-Spy installer file to start the install. NOTE: After install is complete you can delete this file! |
 |
| Step 2 Upon finishing the installation you will be able to run Realtime-Spy's configuration file immediately. Do this and continue to the next step. |
 |
| Step 3 You will now see the Realtime-Spy configuration window. Enter in your username and password that you received after purchasing Realtime-Spy. These must be entered EXACTLY as given. They are case sensitive, and take care not to mix up 0's with O's and I's with l's. After you enter your username and password, choose whether or not you want Realtime-Spy to display a splash warning whenever it is ran, and how often you want it to clear its logs. After you enter your username/password and select the options you want - press "next" to go to the next configuration panel. |
 |
If you have any problem regarding the installation feel free to comment. ................................................................................


 Friday, March 04, 2011
 Anu
Anu


 Posted in


3 comments:
I'll check it
yaar Anu, tere ko dil bhrr ke pyaar krne ka dil kr rha hai, kyoki buddy tunee to jaan he nikal ke rakh di hai
THANK YOU VERY MUCH
Thnks for your reply
Post a Comment